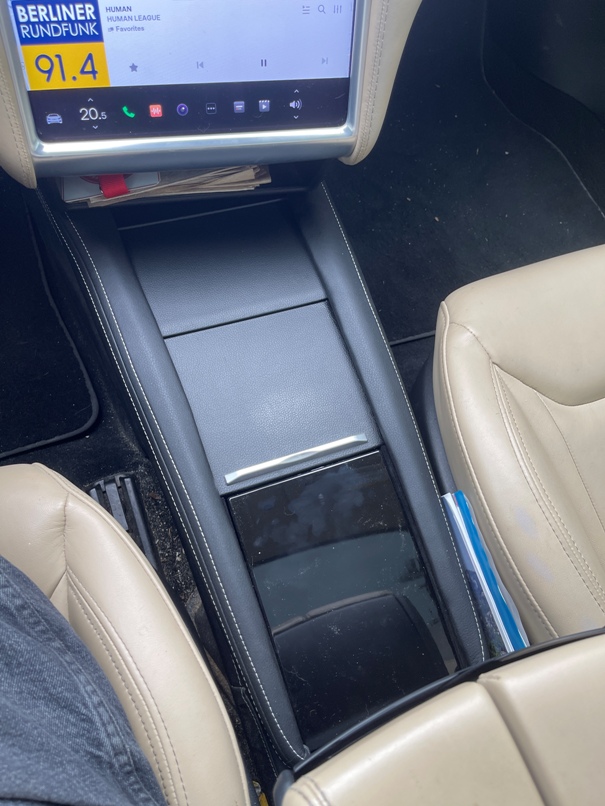
Console
Ordered Center Console from TAPTES. Shipping was super
fast. Had to remove yacht floor in order to fit it.
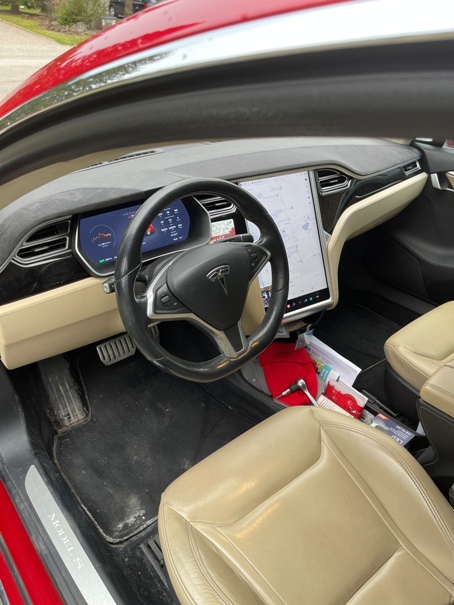
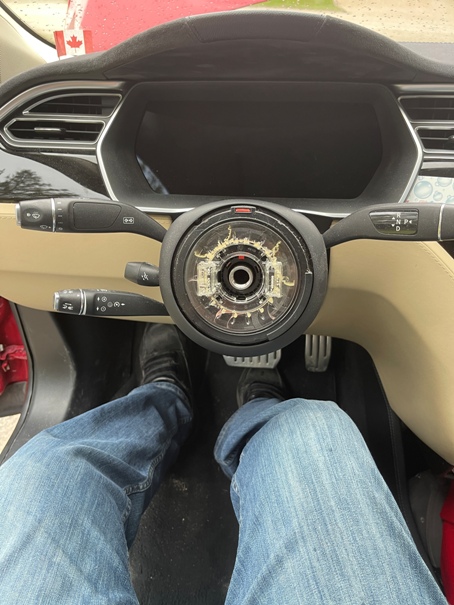
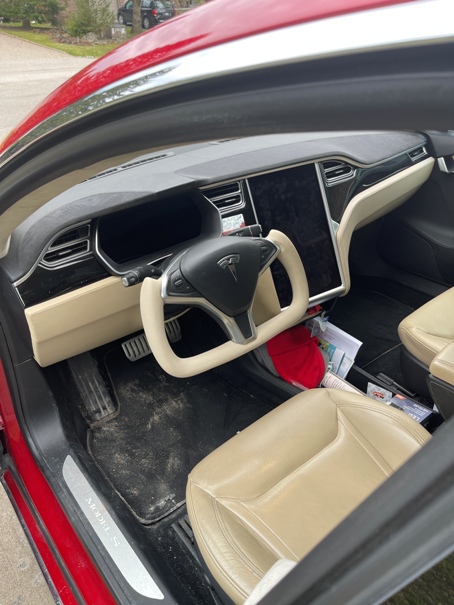
Yoke Steering Wheel
Ordered Yoke wheel from AliExpress. They take 10 days to build it to
your specifications. To remove standard wheel you have to loosen the
two T30 Torx bolts behind the wheel to remove the air bag and
switches and then use a 10mm key to loosen the center nut. It was in
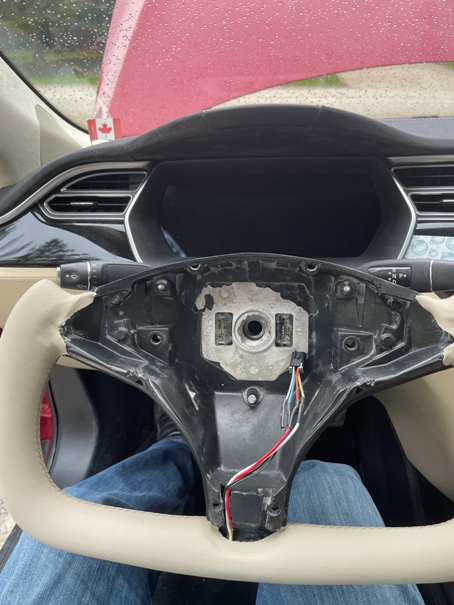
there pretty hard. Had to use my air impact tool to loosen it. Installation was semi easy. had to drill some of the rubber wider to
remove the 2 bolts from the old wheel and same to insert them into
the yoke. Also had to clean out and widen the rubber to accommodate
the plastic tabs of the air bag surround. When it was all installed
I reconnected the first responder loop and 12V battery. Then all
hell broke loose! Got messages "Unable to drive", "Reduced power",
'Car needs service" etc. All 12V functions worked but it refused to
charge. Probably all my fault because I did not power off before
disconnecting the 12V battery. An hour later both screens were black
but all other 12V function like wipers and windows worked. Earliest
Tesla service appointments were available May 10th. Thanks to a
friend
who suggested re-checking the responder loop connector and giving a
charge to the 12V battery the car magically came alive again. Went
for a test drive to the beer store and all is well.
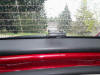
Auto Lift of Trunk Shelf
Many times I flip up the shelf and
forget to put it down. So, with some fishing line I automated the
process.
See it operating
here
Frunk Auto Open and Close Mechanism
I ordered the open/close kit for the Frunk. Although it
stated that it was for "facelift" model only, it installs
perfectly with late 2014
Dual Motor models with single catch.
See it operating
here
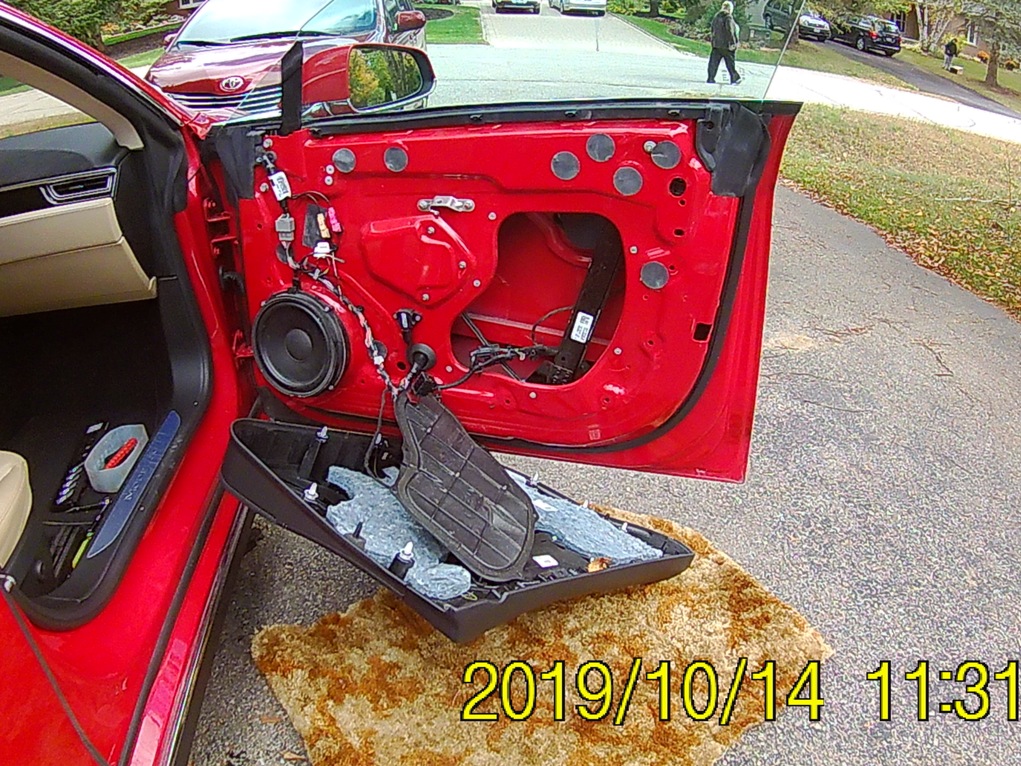
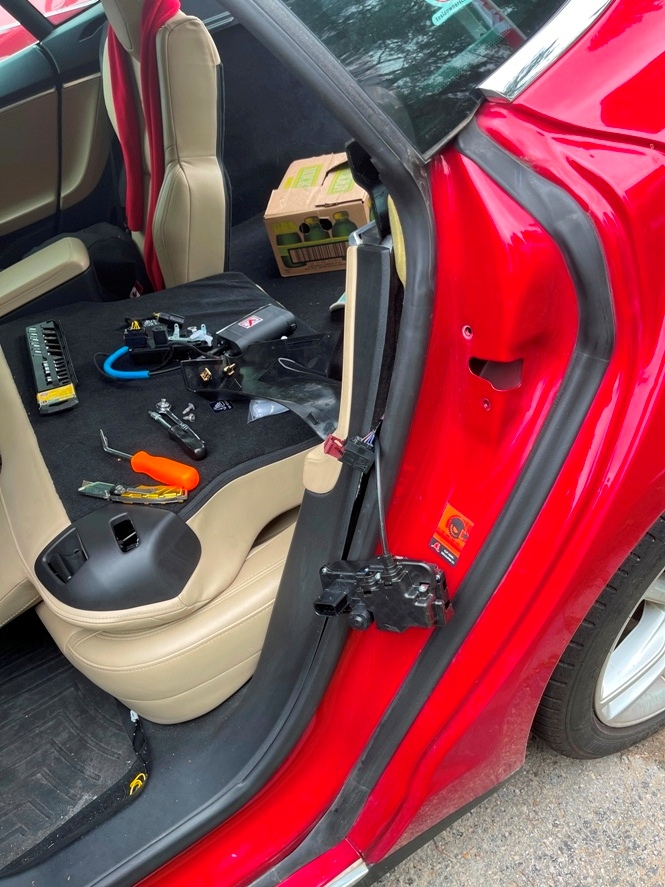
Door Soft Close Mechanism
I ordered the "soft close" kit for all four doors
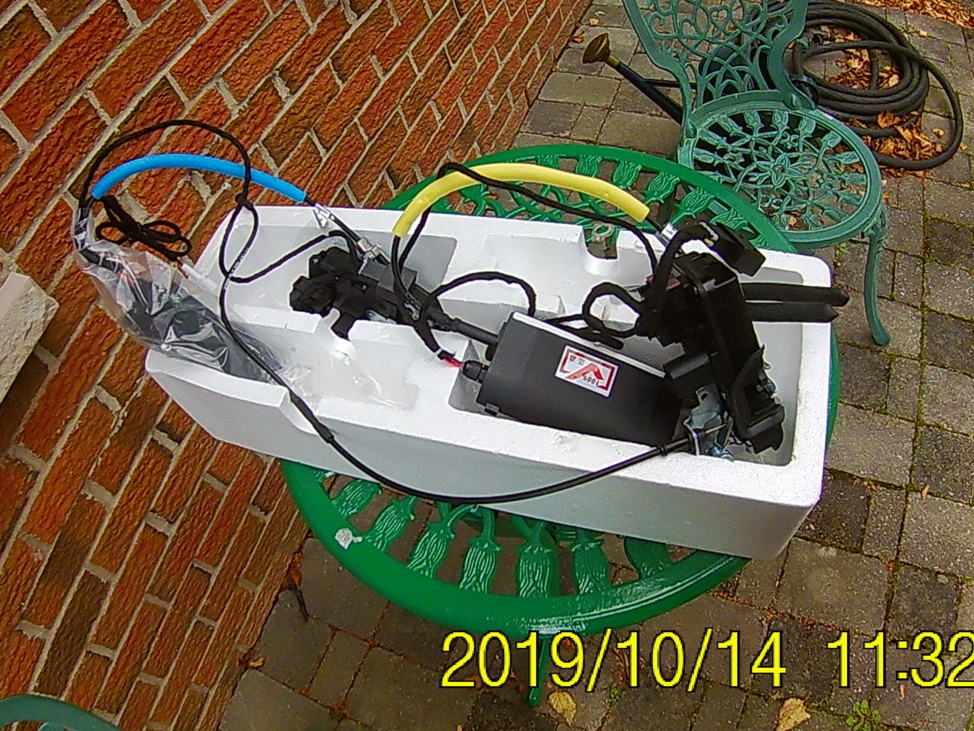
It involves removing the existing closing latch and
installing the new one. Difficulty was routing wires and connectors to
avoid lowering window. Also pulling wires through the door to frame
grommet was a challenge.
This is the way it works:
https://www.youtube.com/watch?v=Vb3S49FCOqU
After struggling on and off for nearly two years, Cyril
Wheeler, independent Tesla mechanic, managed to pull the rear seat
bolsters off for me. Now I installed the rear mechanisms.
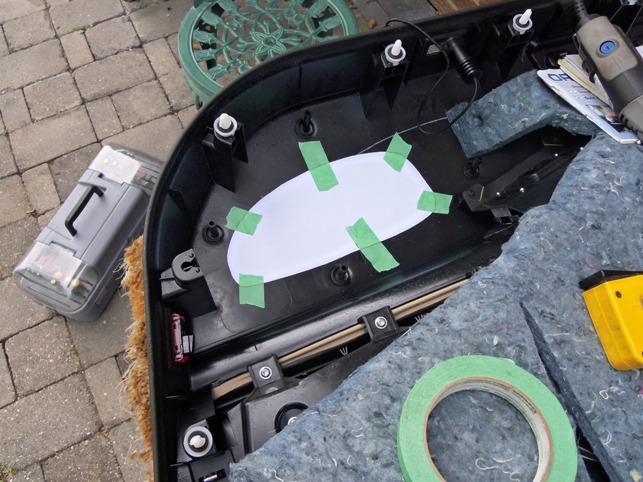
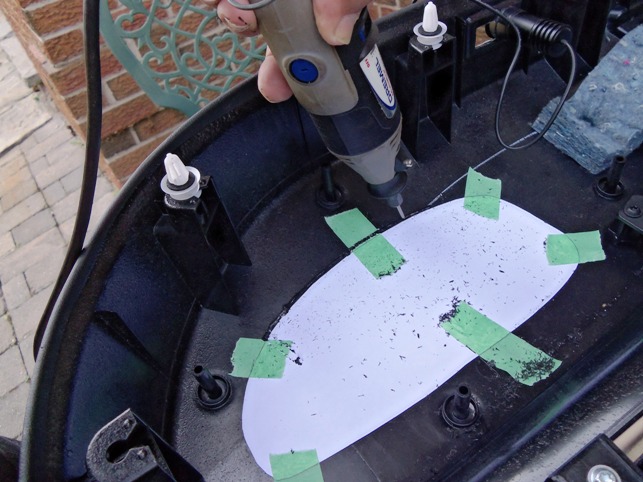
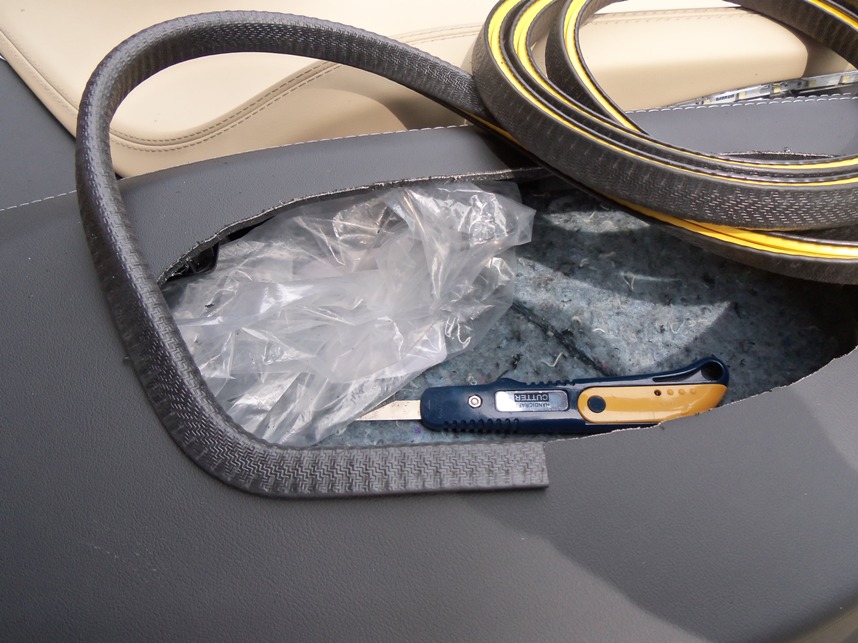
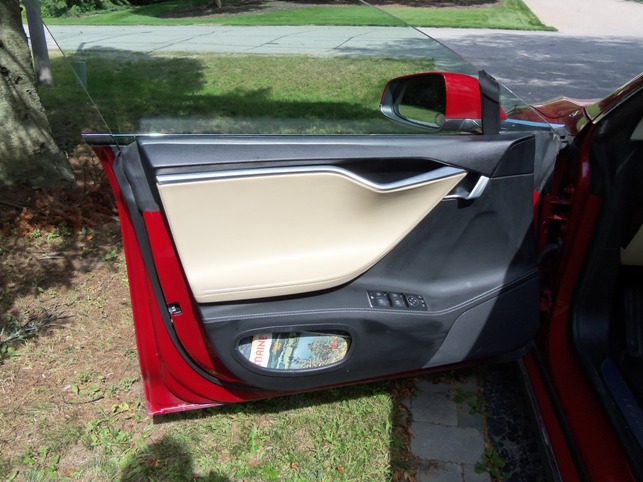
Door Storage Pocket
Was inspired by TMC guy who did this. He published his
template which I used.
First I removed the door panel and taped the template
into position and then used a Dremel cutter.
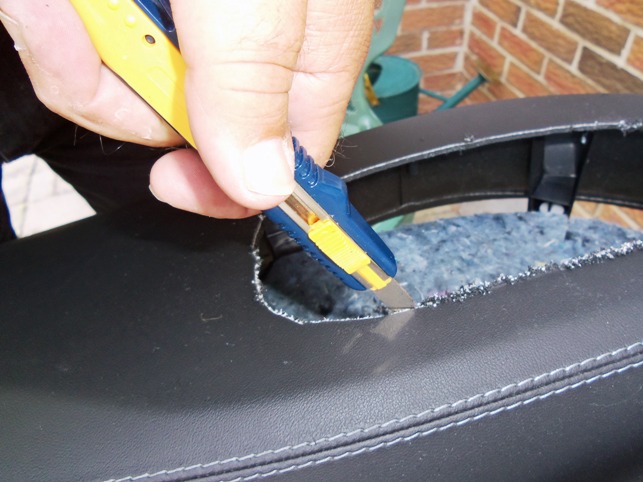
Then trimmed the rough edge with a knife and then
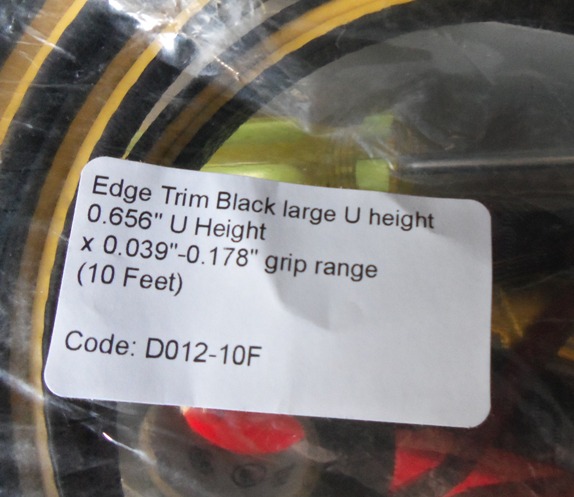
applied the automotive trim I got from Amazon
Applying trim to passenger door pocket
Voila! the finished product
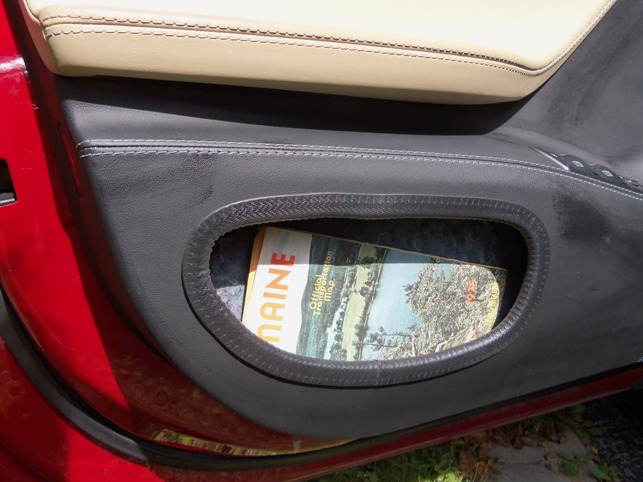
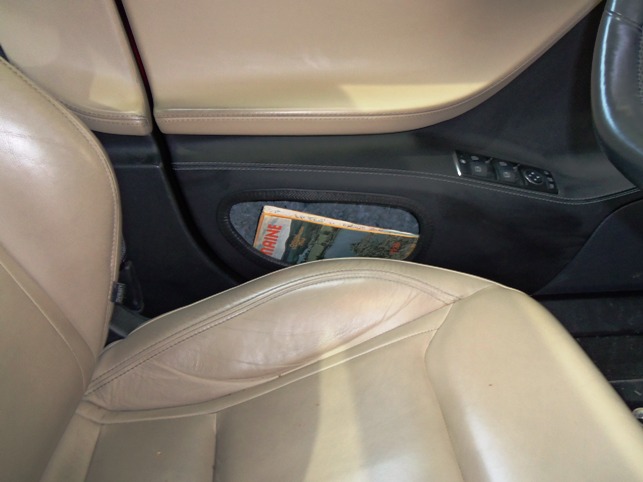
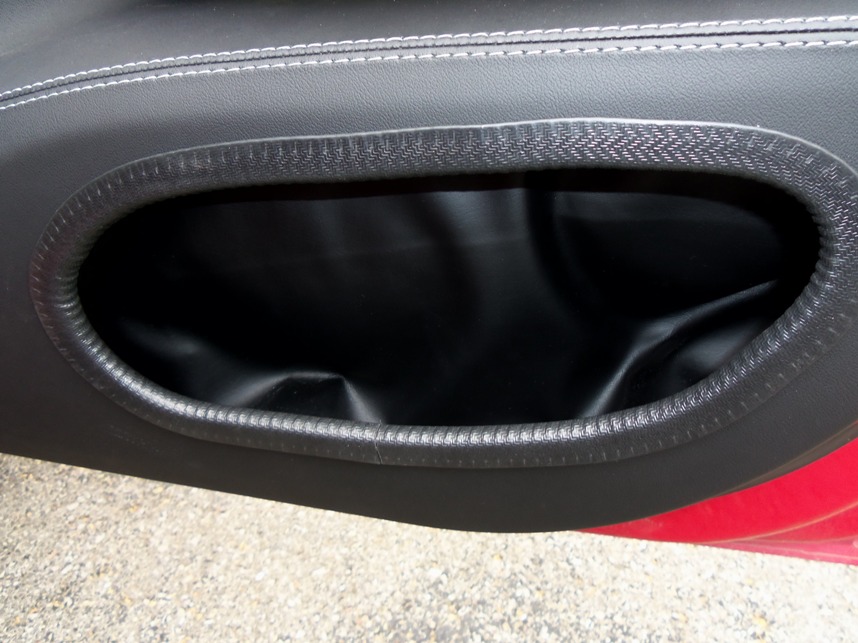
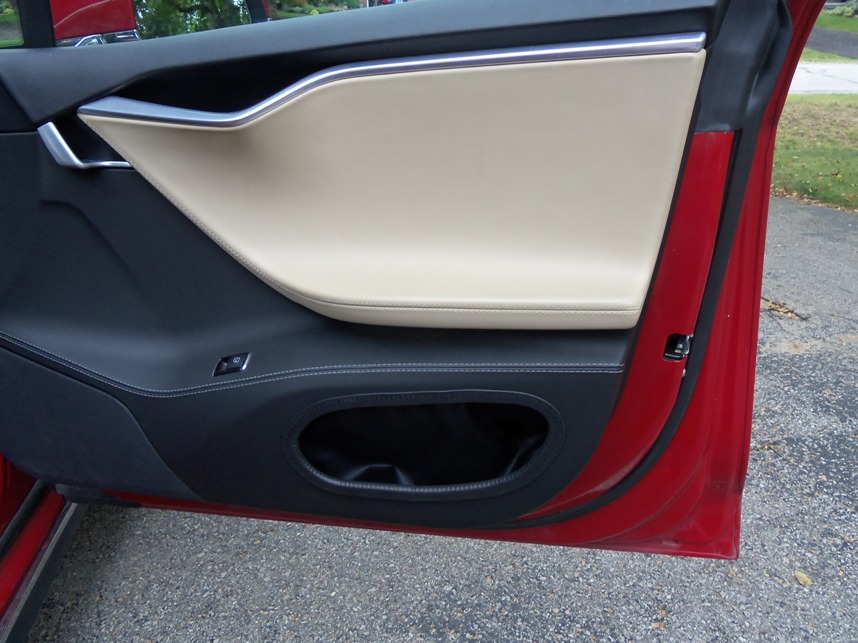
Interior of the pockets are lined with
black vinyl cloth. I did not remove any of the sound insulation felt.
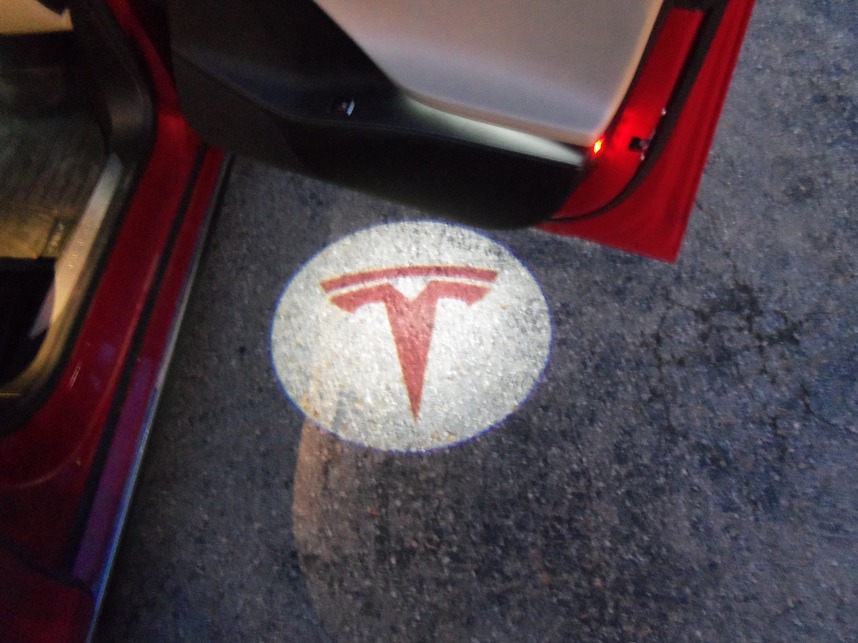
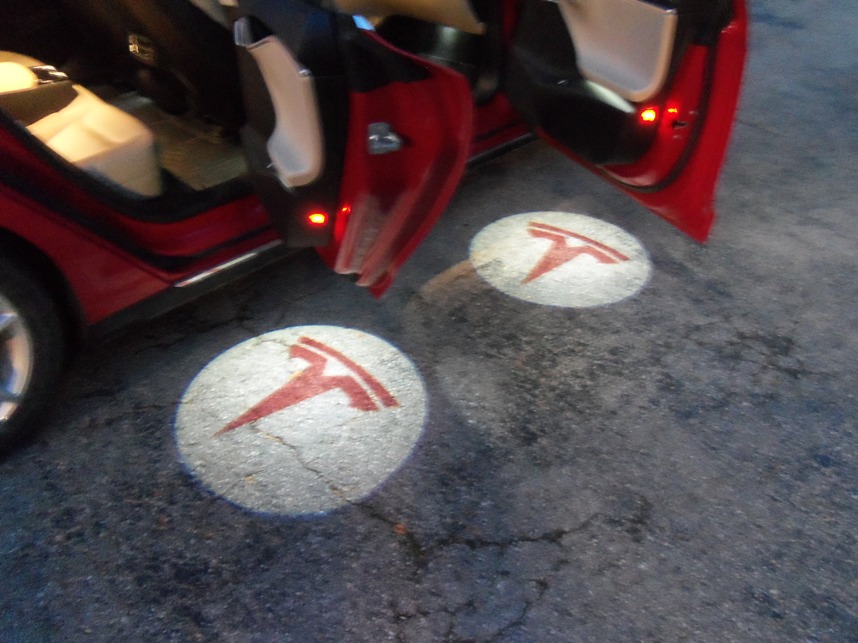
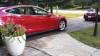
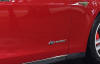
Tesla Logo "Puddle" lights
Installed Tesla logo projector lights in the bottom of
all 4 doors.
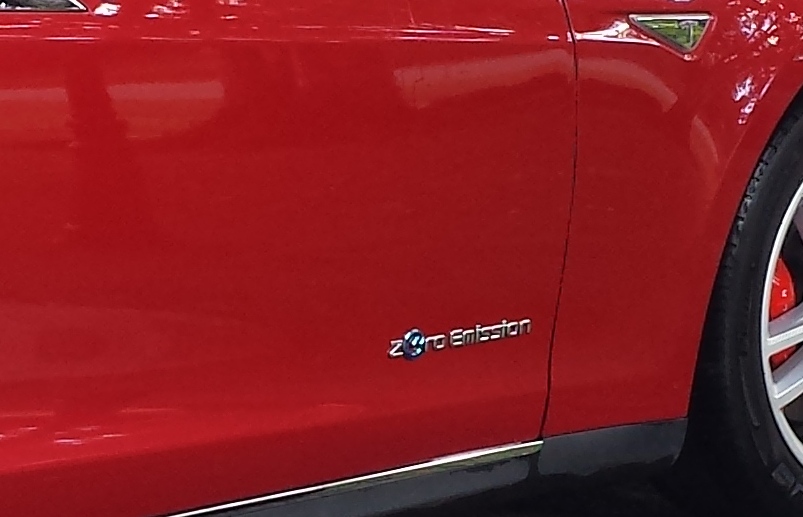
Ludicrous Upgrade
I had the "Ludicrous" performance update done
and enhanced the doors by applying "Zero emission" logos.
click on pictures to see a larger view
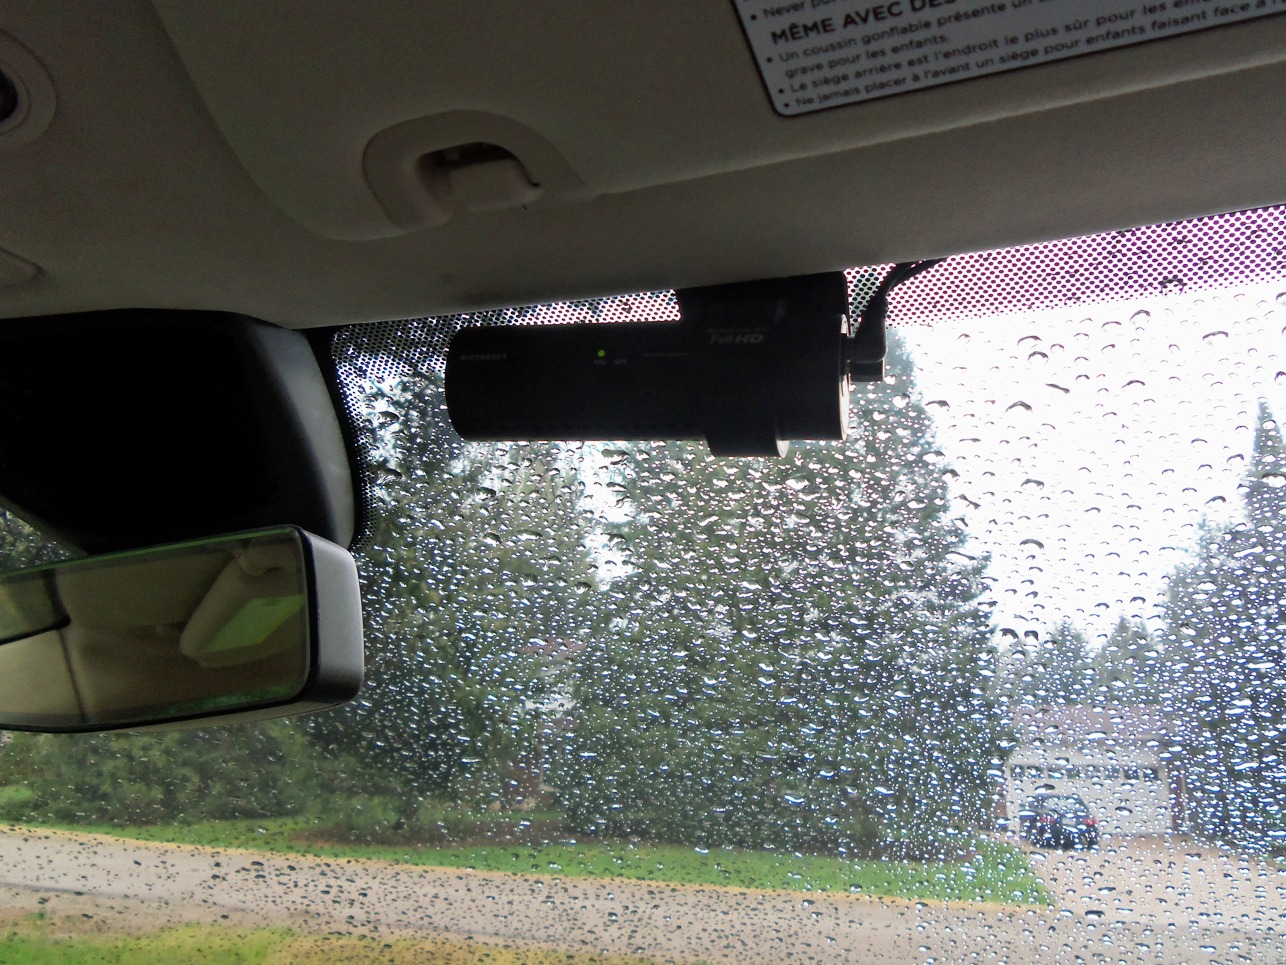
BlackVue DR650GW-2CH
I installed a Blackvue front and back camera. The
front camera position was determined by temporarily connecting the
camera to power and using the WiFi feature looking at the live picture.

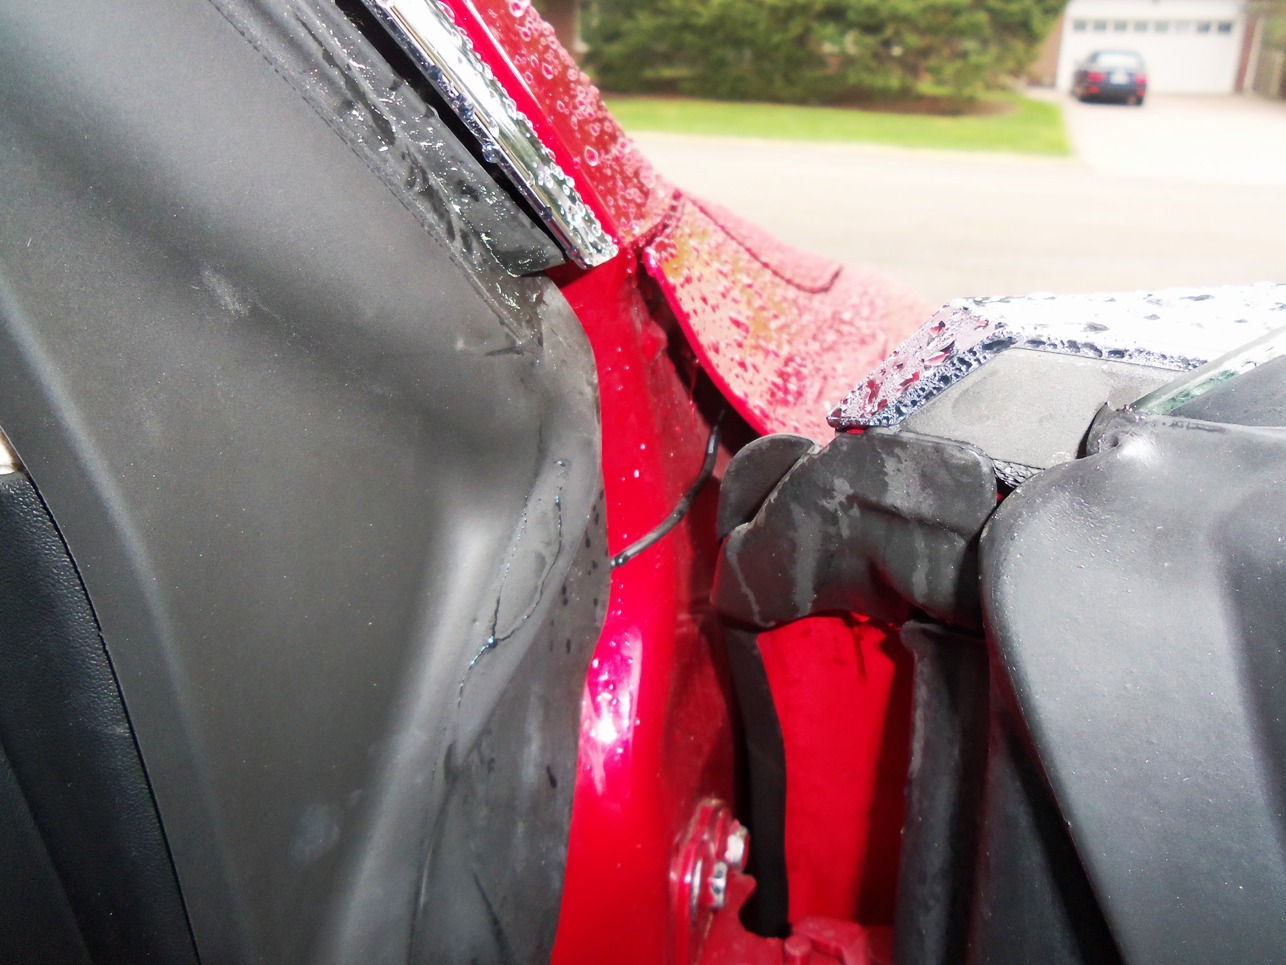
The wires for both the rear camera and power were easily
hidden in the space between the windshield and roof covering. The rear
camera cable was neatly hidden under the door roof rubber strips.
The power cable was routed under same rubber strip down the door post
and then to the front fuse box.

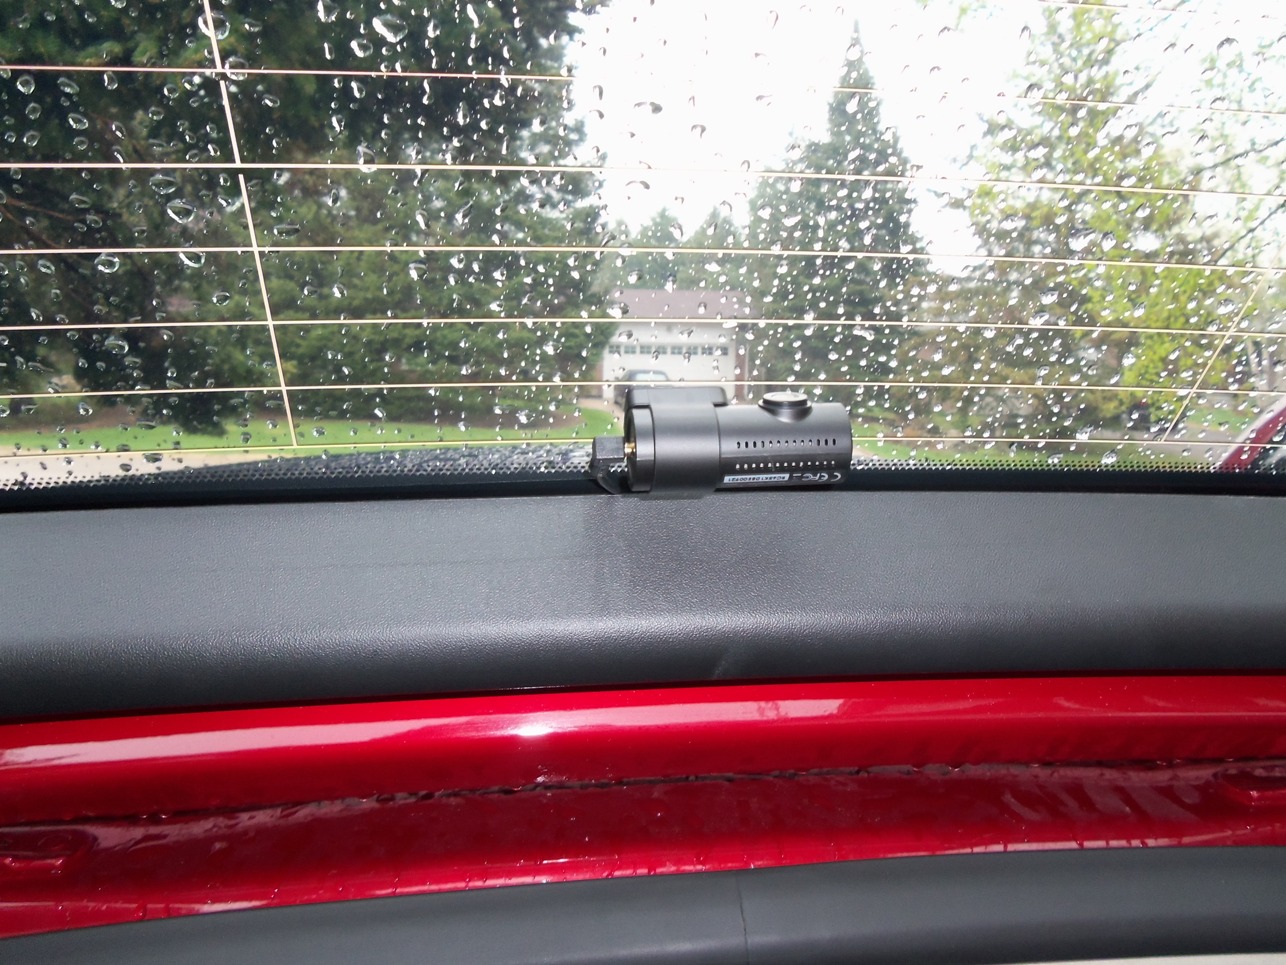
The rear camera was center mounted close to the top as
possible. The cable from the front exits at the rubber strip and was
hidden then under the plastic window surround. I probably could have it
routed in the existing cable tunnel but that would have meant removing
lots of panels.

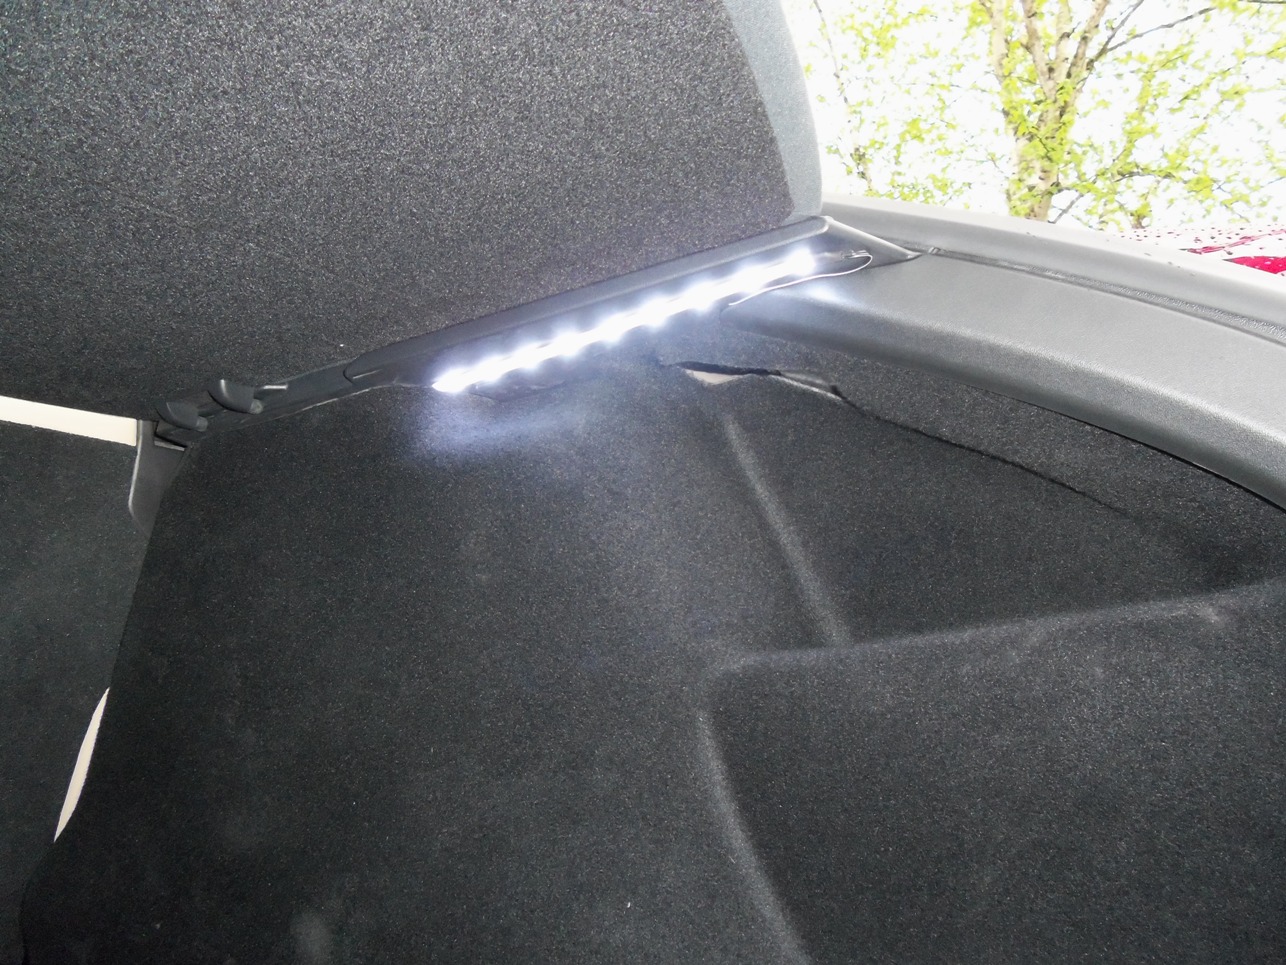
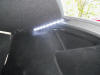
LED Trunk Lighting
I decided to light up the trunk area a bit more than what the two little
LED lights provided. Purchased at Wal-Mart a set of 2 bright LED strips,
mounted them at each side under the shelf cover lip. Connected the wires
to the existing LED wiring.
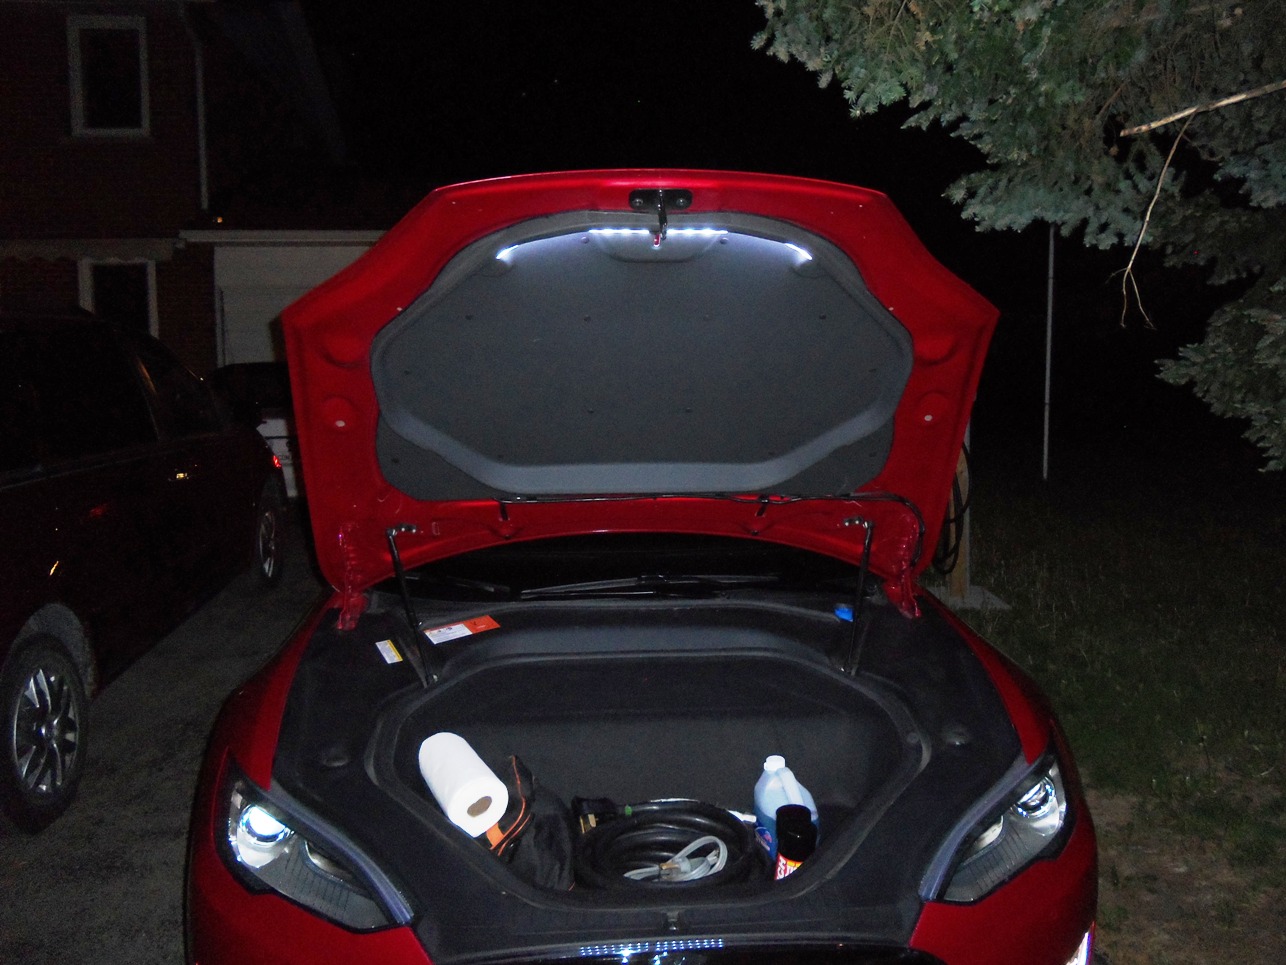
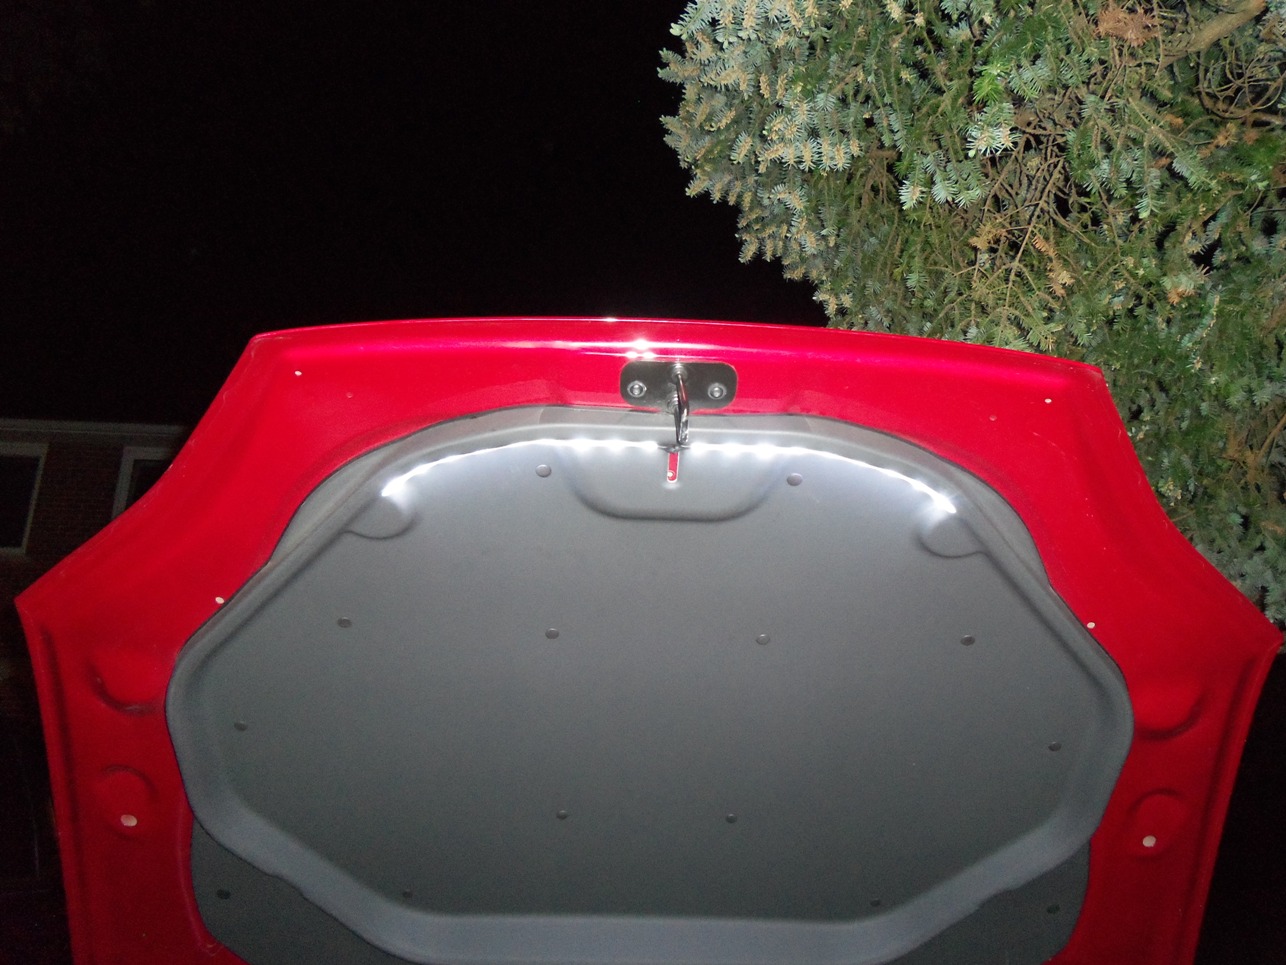
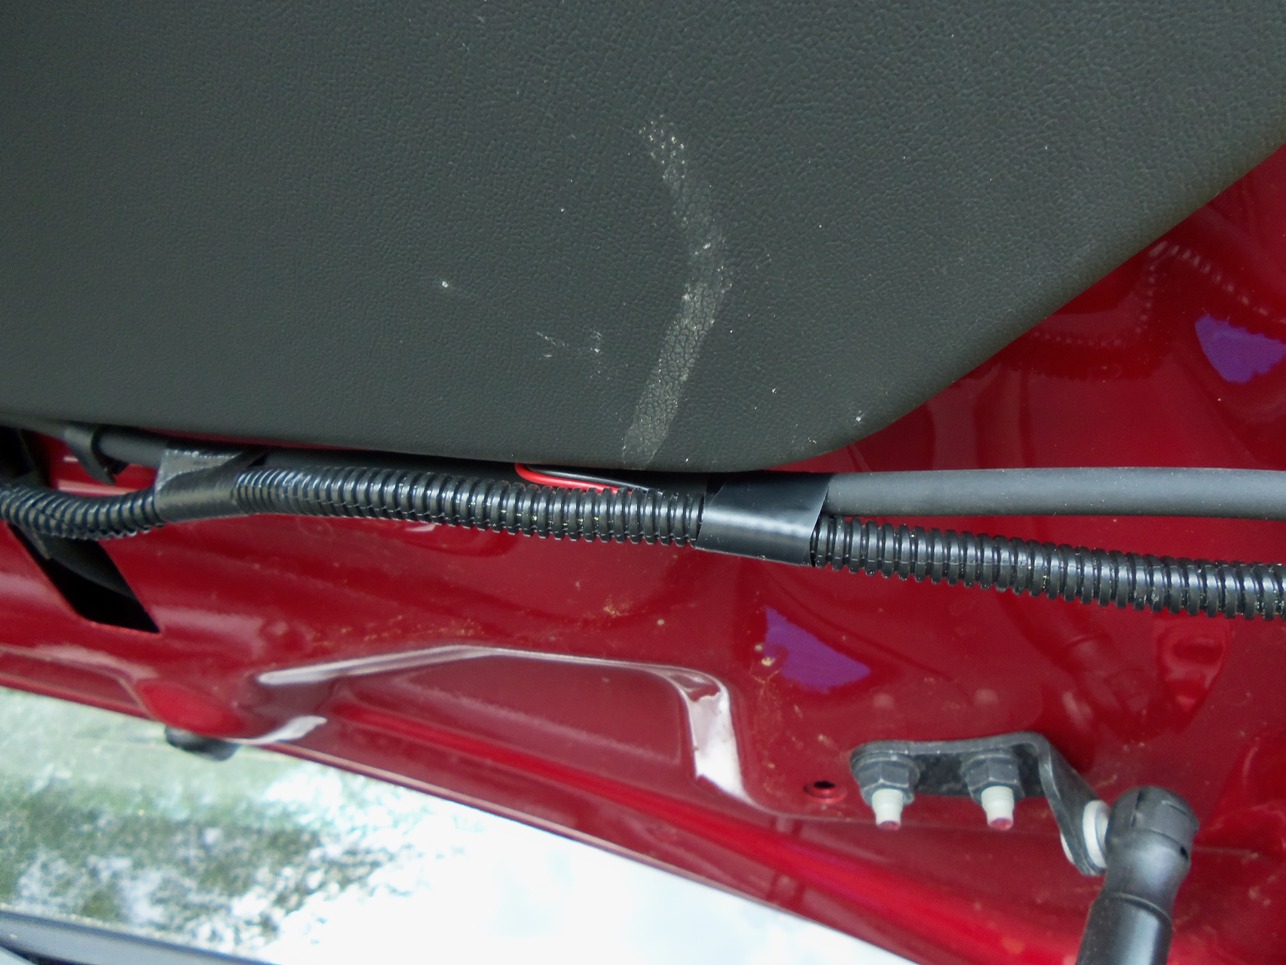
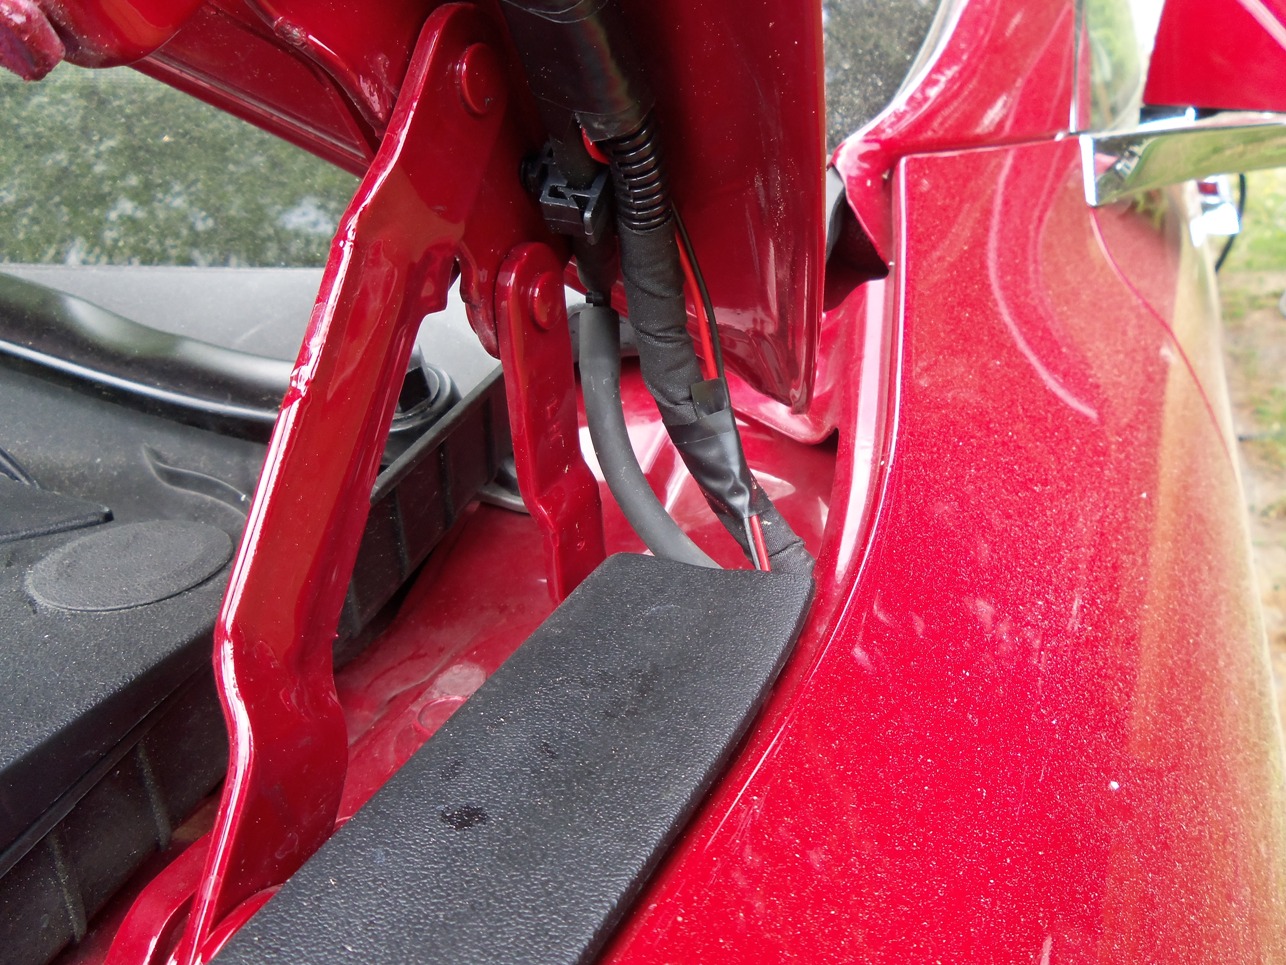
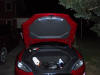
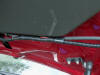
LED Frunk Lighting
To light up the Frunk area, I purchased at Wal-Mart a set of 2 bright LED strips,
mounted them on the inside of the hood pad upper lip. Routed the wires
under the hood pad and under the plastic covers to the existing LED light wiring.
Since i have the cold weather package I was able to enclose the wires
into the existing flex cable channel.


click on pictures to see a larger view |